


first seen onScrapbooking With ME
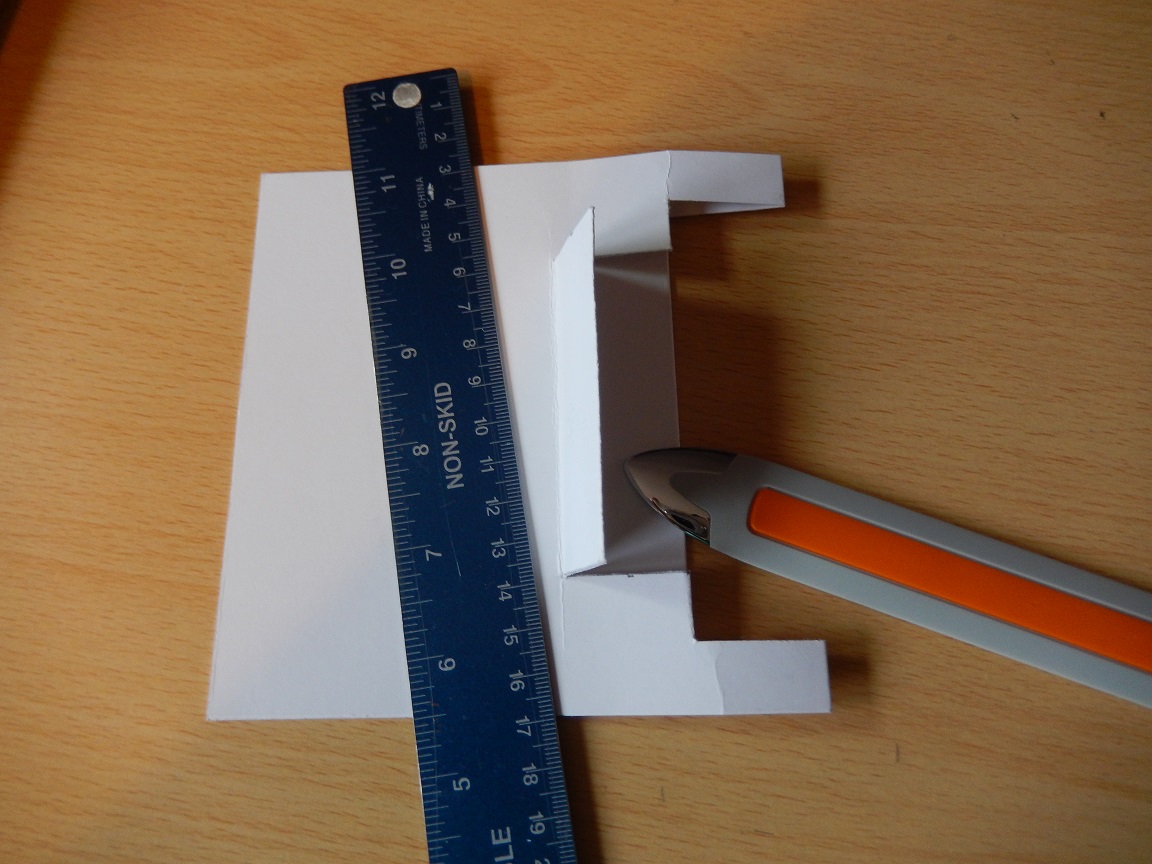
I made this card from the products included in box 3 and some ink from my stash.This is a fairly easy card to compile if you take your time over the measurements for the placement of the butterfly and the peep window. I think I can adapt the style for Christmas or other occasions so I will update when I have something new to show.
I am finding the Subscription boxes from Crafters Companion are great value for money and stuffed with product. I have been crafting for some time now but even beginners can achieve great results, as almost everything you need to make the projects suggested is in the box. (some tools, Ink and adhesive are needed). there is even some base cards and designer papers left over for future projects or to have more than one try at one of the featured projects on the subscription kits web page.
This months box (box 4 Create-a-Card) is available until the end of the month in the UK, if you are in the US you are already on box 5. I am afraid the box used for this project is no longer available from Crafters Companion.
If you want to make this card you can adapt and use any butterfly die and if it is not a layering die you can trace the outer edge of the die on contrasting card and fussy cut to achieve the same effect.
Happy Crafting


