Have a special occasion coming up?
Make your card pop with this demo.


What you will need
A card blank 15cm x 30cm (score down middle to make square card blank)
141/2cm x 29cm card or thick paper (scored down center to make pop up)
 co-ordinating card 14cm x 14cm for card front
a ruler
a scoring tool
scissors
a pencil
wet glue
and a glue stick
a selection of colour papers, toppers and embellishments for decorating
First thing to do is to fold the card base and pop up piece, making the fold crisp with a bone folder or ruler edge. be careful if using ruler edge that you don't tare the card or paper.
Next we are going to do the measuring....
 Taking the 141/2cm x 29cm piece measure along the fold 11/2cm at each end and make a mark.
Turn card and starting at each of the marks come in 3cm and mark, join these marks with a line.
Repeat this two more times starting at the previous line and reduce the line by a fraction each time.
the first line 3cm, then 2.7cm and 2,5 cm (or there abouts, a ruff guide)
This is so you don't cut through completely the tabs that will make the pop up.
Cut along the first 2 lines and then butt the ruler against the cut lines and push the middle section against with bone folder or finger to make the fold impression.
open out carefully and depress the fold so it sits inside. as in photo.
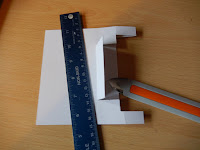

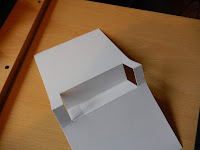
Repeat these steps cutting each line, and depressing folds until you have something like this,

 Remember!
Do not cut all the way to the end of line leave a couple of mm.
This makes the little tabs.
Burnish all folds Alternating Mountain and Valley folds until you have the middle step section and using the Glue stick attach one side to inner card blank, then when in position attach the other side.


 would love to hear what you think
LJ ✗
open out carefully and depress the fold so it sits inside. as in photo.
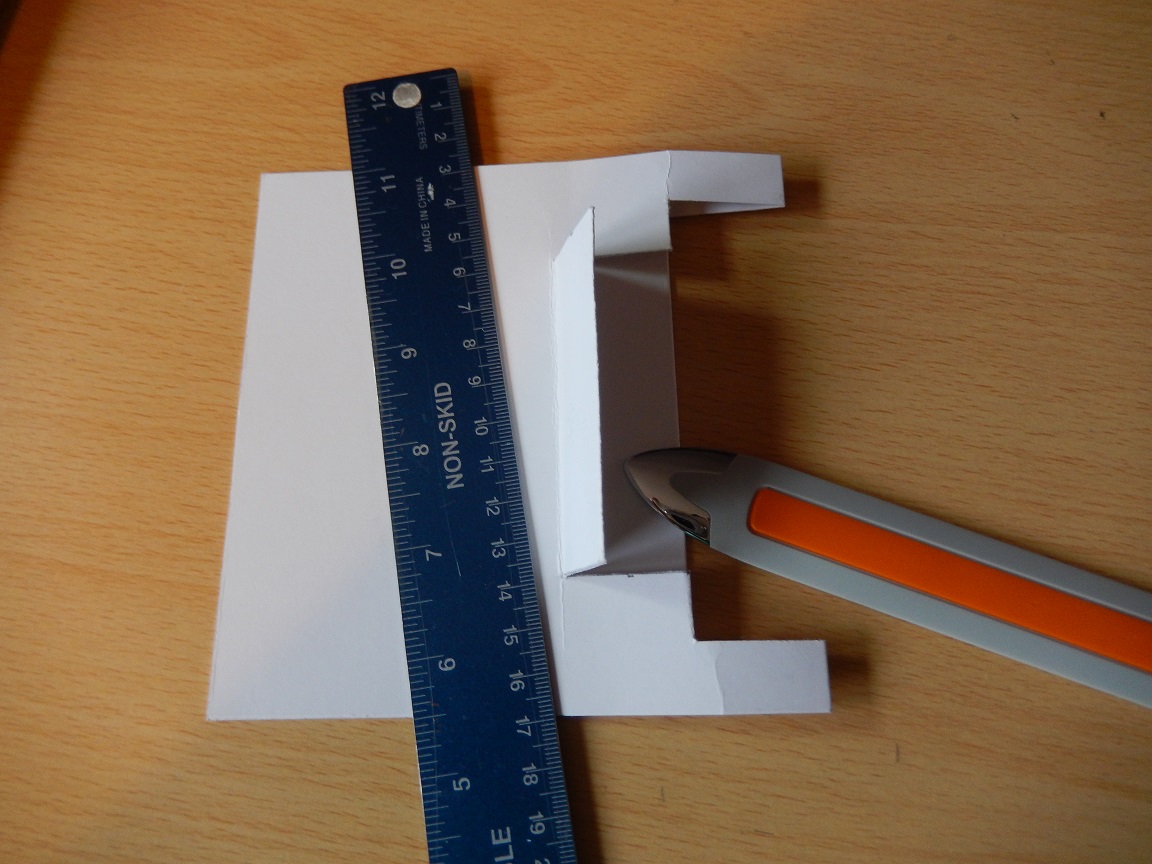


Repeat these steps cutting each line, and depressing folds until you have something like this,

 Remember!
Do not cut all the way to the end of line leave a couple of mm.
This makes the little tabs.
Burnish all folds Alternating Mountain and Valley folds until you have the middle step section and using the Glue stick attach one side to inner card blank, then when in position attach the other side.

you could use wet glue or sticky tape but glue stick is good for an even coverage with some wiggle room.
Now all you need to do is decorate with topper on front and embellish the stepper inside. Have fun and if you like this demo please Subscribe for regular Demos.


LJ ✗


